Off Grid Passive Solar Monolithic Dome
This blog describes the building of an off grid passive solar monolithic dome. After the building of the dome is finished, I will write about living off the grid, wind and solar power, energy efficiency, sustainable living and growing organic food. Start with April 2008 for the chronological story. Press Ctrl + End to get to the bottom of the page. That is where the story begins.
Tuesday, March 31, 2009
Monday, March 9, 2009
Placing the chimney

I know this is a hard picture to figure out, but the shiny, metal thing is the chimney. The east part of the building will be my husband's shop. Once we get the boiler working in the house, the wood burning stove will be moved to the shop. The chimney needed to be in place before we started to put the metal on the south side of the roof.
South and East Walls
 As I mentioned previously, on nice days with little or no wind, we would get out and do as much work as we could. Some days that meant we were only able to get one sheet of metal up. Other days, we were able to do a lot more than that. Little by little, we got it done.The opening at the top of he east wall is for a vent.
South wall with some siding

It was sometime in December when the snow started to fly and it was too cold for us to continue our project. This picture shows the north and east walls at that time. At this point, we started working on the inside of the house again. In December, we tiled the kitchen floor ( yeh!). In January, we tiled the master bedroom and painted it. It is nice to have some color other than white primer!
We also started preparations for installing a boiler which will run the in-floor heating. On nice days, we still worked outside on the garage.
Trusses

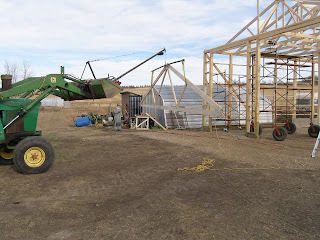
When we were nearing the completion of the ladders ( no picture), we ordered the trusses and had them delivered. Again, the crane was used to lift the trusses into place. This is a picture of one of the trusses on the ground. A long steel pole and two slings were used, along with the crane to lift the truss.
6" x 6" Posts

We needed twenty-seven, 20 foot long 6" x 6" posts for our building. Since it is hard to get straight posts that are that long, we decided to build our own. This took some time to do, but we saved money in the long run doing it this way. In the picture, you see several of the completed posts. We screwed a sturdy wire on the end of each post. That way the crane could pick up the post and place it into one of the pre-drilled holes. The hole was then packed with gravel.


